Ho sempre grosse difficoltà a trovare un regalo di compleanno adatto al mio papà. Lui ogni volta dice che non gli serve nulla, ma io cerco comunque di trovare un regalino carino da fargli, anche se ogni anno diventa sempre più difficile pensare a qualcosa di utile e originale. L'idea infine mi è venuta, e così è nata quest'àncora portachiavi. Per un lupo di mare come lui, niente di meglio di un regalino marinaresco, per di più fatto a mano con tanto amore dalla sua figliola preferita (modestamente) :-D
It's always difficult for me to find a nice birthday present for my dad. Every year I try to get him something nice and useful, but it keeps getting harder and harder each time. So, this year I've decided to craft him something that's just perfect for a seadog like him: a cute anchor keyring.
L'occorrente per creare un'àncora portachiavi come questa è:
- feltro grigio e bianco, spesso 1-1,5 mm
- due piccoli bottoncini di 6 e 10 mm di diametro (o anche uno solo, a seconda di quello che avete a disposizione)
- filo semplice da cucito, grigio e bianco (meglio se di poliestere, è più resistente)
- imbottitura sintetica
- spago di canapa
- un anello portachiavi.
Here's what you'll need to make an anchor keyring like this:
- grey and white felt, 1 to 1,5 mm thick
- two very small buttons of 6 and 10 mm in diameter (or just one, depending on your supplies)
- simple sewing thread, grey and white (better if polyester, it's stronger than cotton)
- polyfill or similar stuffing
- hemp twine
- a key ring.
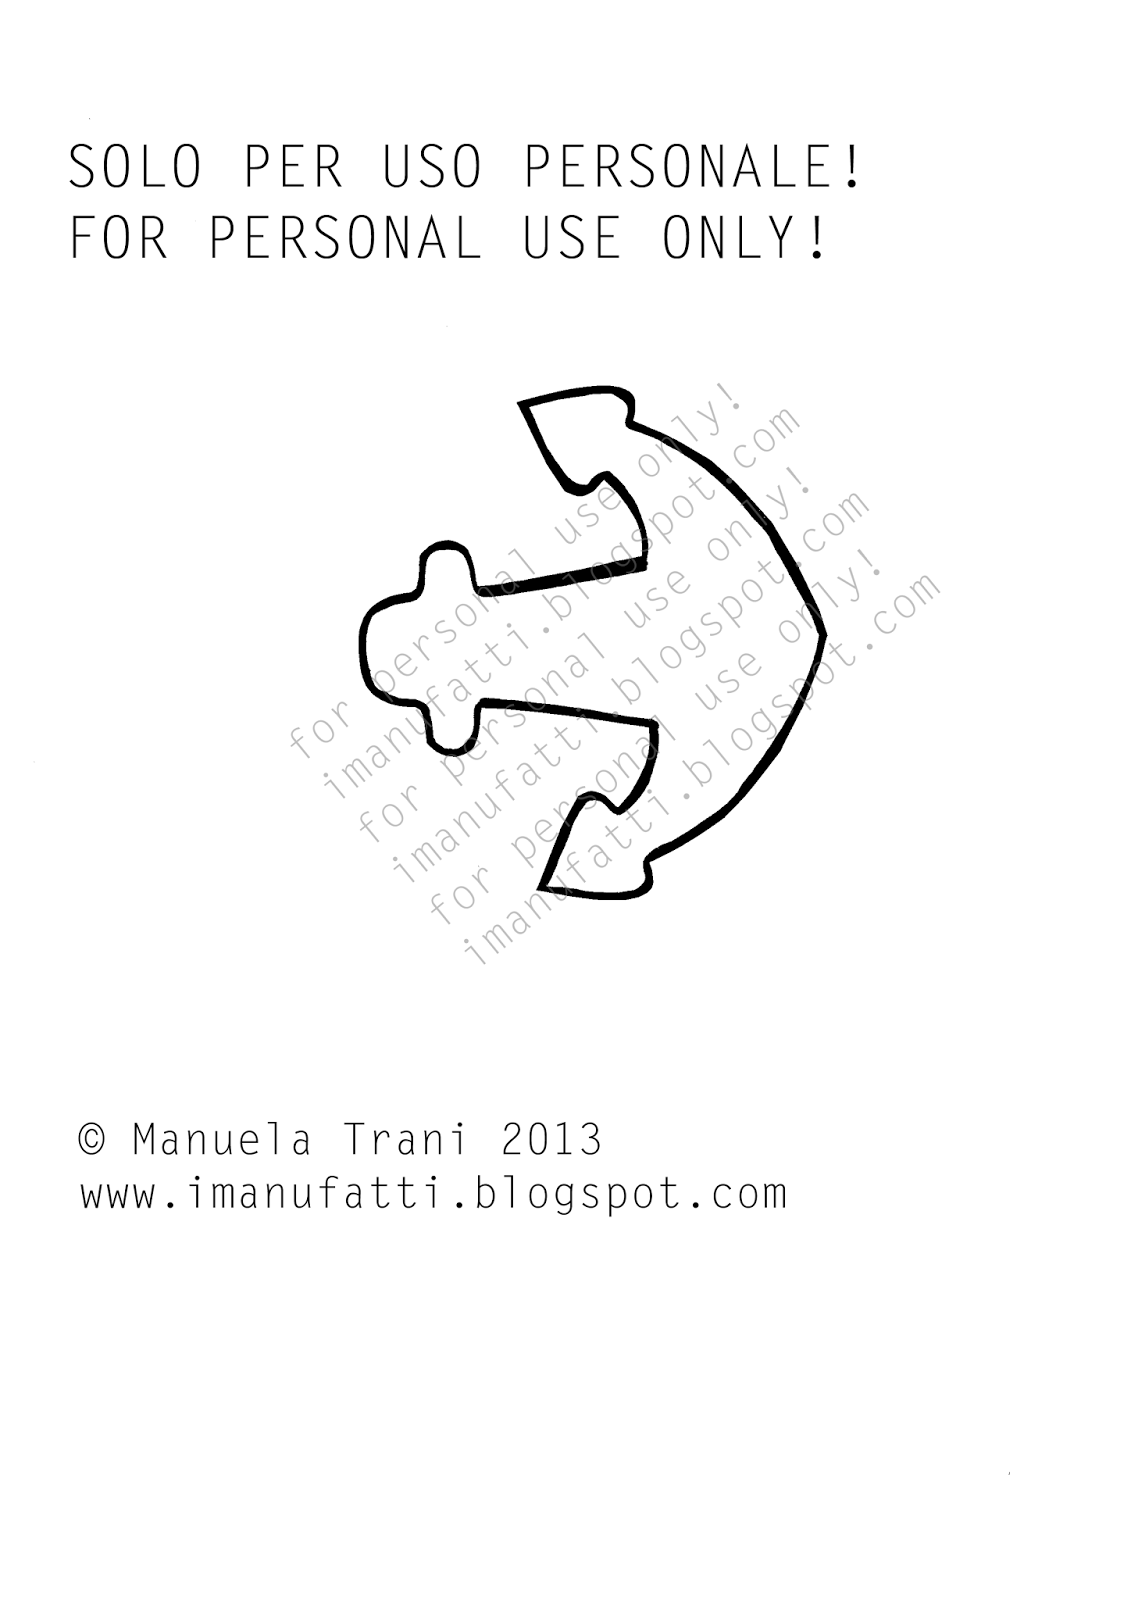
1. Stampate la sagoma di àncora che trovate in fondo a questo tutorial. Ritagliatela e fissatela al feltro grigio con degli spilli; ricavatene due ancore. Su una delle due sagome posizionate in diagonale due striscioline di feltro bianco e cucitele a punto indietro.
1. Print and cut out the anchor template (scroll to the end of this tutorial). Pin it on grey felt and cut out two anchors. Take one anchor and sew two stripes of white felt, as shown. Use backstitch.
2. Tagliate i bordi delle striscioline in eccesso. Prendete i due bottoncini e cuciteli uno sopra l'altro. Fate un cappio con lo spago di canapa e cucitelo sulla seconda sagoma di àncora con piccoli punti superficiali, senza trapassare il feltro (i punti non devono essere visibili sul retro dell'àncora).
2. Trim off the stripes' excess. Take the two buttons and sew them on the anchor. With the hemp twine, make a loop and sew it on the second anchor template. Sew the loop with just a few superficial stitches, without going all the way through the felt. (Stitches must be invisible on the back of the anchor).
3. Sovrapponete le due sagome di àncora e cucite a punto festone, partendo dalla base dell'àncora. Lasciate una piccola apertura per inserire l'imbottitura, quindi chiudete. (CONSIGLIO: per un risultato più gradevole, cucite con punti piccoli e ravvicinati. Inserite sempre l'imbottitura prima nelle estremità, poi al centro dell'oggetto che state creando).
3. Overlap the two anchors and sew them together with blanket stitch. Start from the bottom end of the anchor and leave a small gap to insert the stuffing, then sew to close. (TIP: for a better finish, keep the stitches small and near one another. Always stuff the ends first).
TA-DA! Ecco qui la vostra àncora portachiavi finita.
TA-DA! Here's your cute anchor keyring, nice and ready.
Buon Ferragosto a tutti :-)
(a chi l'àncora l'ha già salpata e a chi è in procinto di farlo)
Have a nice holiday time y'all:-)
(if you've already sailed away or if you're just about to)
{stampa le sagome mantenendo le dimensioni originali!}
{print the templates keeping the original file size!}
Per favore, rispetta il mio lavoro e la mia creatività: se vuoi realizzare e pubblicare sul tuo blog un oggetto partendo da questo tutorial, sei gentilmente pregato/a di citarne la fonte con un link a questo post. La vendita di questo tutorial, di oggetti realizzati seguendo questo tutorial e la riproduzione per intero di questo tutorial su un altro sito sono espressamente vietate. Grazie!
Please, respect my work and my creativity: if you want to make an item from my tutorial or to blog about this project, remember to credit me and link back to this post. Do not reproduce my entire tutorial on your site. This tutorial is for non commercial use only. Thank you!